

Learning how to mix and master guitar tracks is a key skill for guitarists recording at home or in a small project studio. The right approach transforms raw takes into polished songs that sound balanced, clear, and ready for sharing or release. Mixing involves blending multiple guitar parts—such as rhythm, lead, and acoustic layers—so each element is heard distinctly, while mastering ensures the final mix sounds professional on any system. Beginners often wonder which effects to use, how to set levels, and what common mistakes to avoid. This listicle breaks down the process with practical, step-by-step instructions, recommended settings, and real-world examples tailored for guitar music. You’ll find advice on organizing your session, using EQ and compression, adding effects, and finalizing your mix for streaming or distribution. By following these concrete steps and avoiding frequent pitfalls, you can achieve a more professional sound, even with basic equipment. Whether you’re working with classic rock riffs, clean fingerstyle, or layered modern tones, this guide will help you confidently navigate the mixing and mastering process for guitar tracks.
What Is Mixing & Mastering Guitar Tracks? Explained for Guitarists
Mixing & mastering guitar tracks means taking your raw recordings and shaping them into a finished product that’s enjoyable and impactful to listen to. In the mixing stage, you adjust the volume, pan, EQ, and effects for each guitar part in relation to the rest of your arrangement—rhythm, lead, acoustic, or effects layers. For instance, you might pan a crunchy rhythm left and a jangly clean guitar right, EQ each to avoid frequency overlap, and compress leads for consistent volume. Mixing is about making sure each guitar part supports the song without overpowering other instruments like drums or vocals.
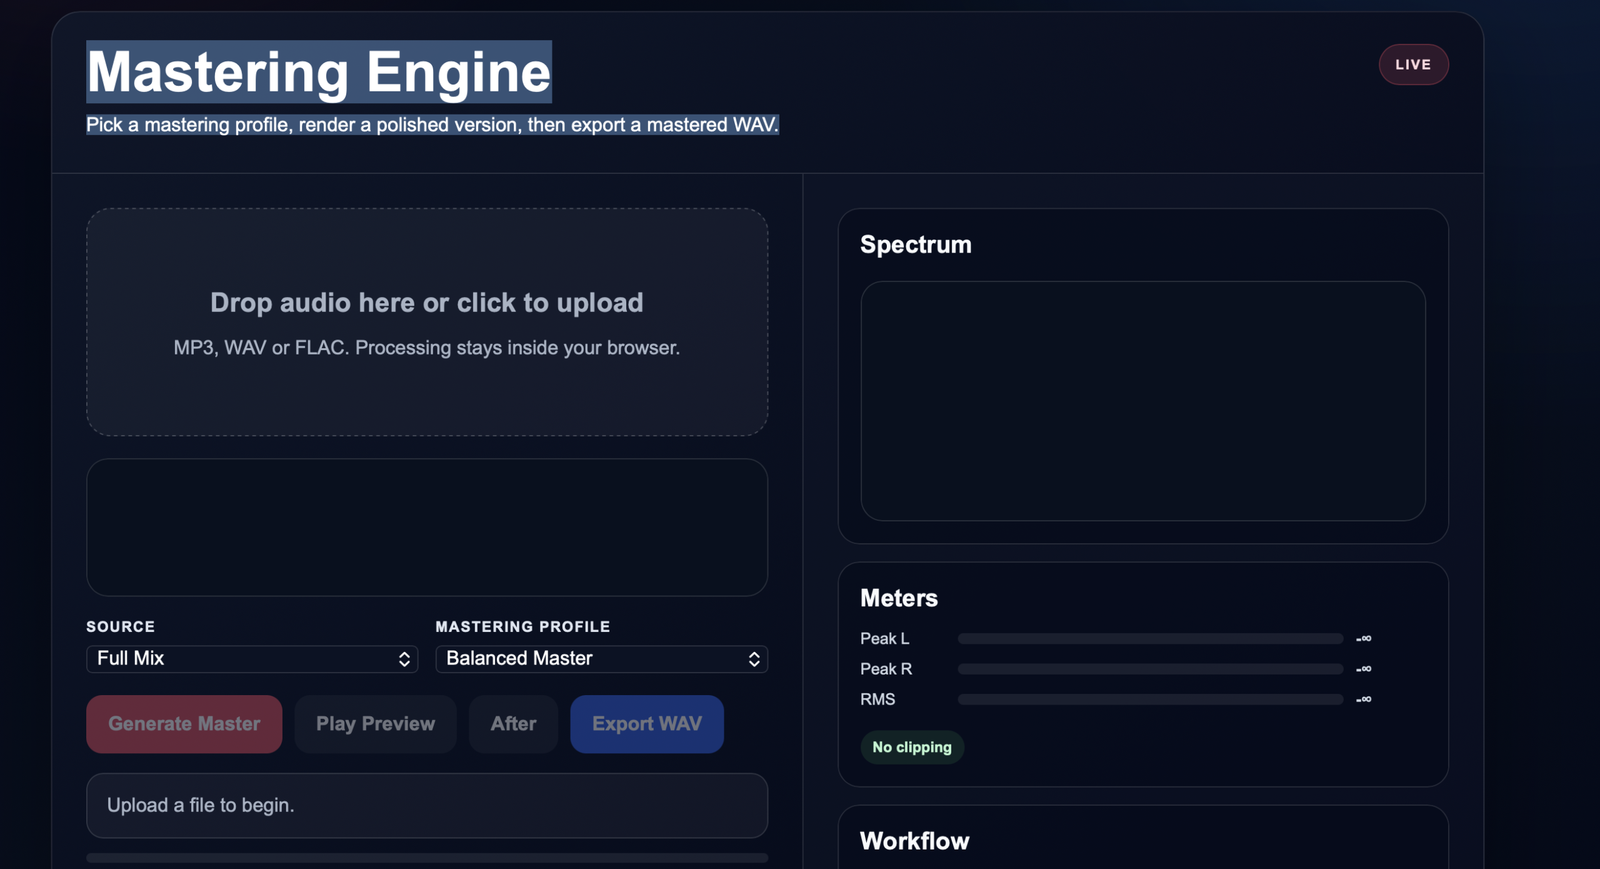
Mastering comes after mixing and focuses on the stereo mix as a whole. This stage uses subtle EQ, compression, limiting, and other tools to ensure your track is loud enough, tonally balanced, and translates well on headphones, monitors, and phone speakers. For example, a solo acoustic guitar piece might get a gentle high-frequency boost and limiting for streaming, while a full rock mix ensures the guitars cut through but don’t mask vocals. The goal is a cohesive, professional sound across all playback systems. Many players follow the natural mix & master workflow on Harniciuk Sonic to streamline these steps, keeping the focus on musical results and workflow efficiency.
Step-by-Step Workflow: Mixing & Mastering Guitar Tracks
1. Prepare and Organize Guitar Tracks
Label each guitar track clearly in your DAW—identify rhythm, lead, acoustic, and effect layers. Trim silent sections and remove unwanted noises such as string squeaks, amp buzz, or background sounds. If you recorded multiple takes, comp together the best sections for each part. Group related tracks (like double-tracked rhythm guitars) for easier processing. Ensuring your session is organized from the start minimizes confusion and helps you focus on creative decisions rather than technical clean-up later. A tidy session also speeds up editing and mixing, especially when working with multiple guitar layers or collaborating remotely. For example, when recording a classic rock arrangement with two double-tracked Les Paul rhythm guitars and a Stratocaster lead, color-code and group the rhythm tracks, label the lead, and mute unused takes to keep your workspace efficient.
2. Set Initial Levels and Pan for Space
Begin by bringing up each guitar track’s fader to a starting point where all parts are audible but nothing stands out unnaturally. Pan doubled rhythms 60–80% left and right for a wide stereo field; place lead guitars just off-center or dead center for focus. Acoustic and electric layers can be panned to opposite sides for separation. If you have harmony or octave lines, try panning them further out for even more dimension. Listen to all instruments together (not soloed) and make small adjustments until each guitar part is clearly defined within the mix. For example, in a modern pop-rock track, pan a Telecaster rhythm 70% left, a clean Strat rhythm 70% right, and keep a melodic PRS lead in the center. Check in mono periodically to ensure nothing disappears due to phase issues.
3. Apply EQ to Sculpt Guitar Tones
Use an EQ plugin on each guitar track to carve out space and eliminate muddiness. High-pass filter below 70–80Hz for electrics and 60Hz for acoustics to remove unnecessary low end. For rhythm guitars, cut 2–4dB in the 250–400Hz range if the sound is boxy. For leads, boost 2–4kHz slightly to add presence, but watch for harshness above 6kHz. If you have multiple guitar layers, use EQ to differentiate them: for example, boost upper mids on one and lower mids on another. Always listen to EQ changes in the context of the full mix—not just soloed—so you don’t accidentally thin out the sound or create frequency clashes. On a fingerstyle acoustic recording, a gentle boost at 12kHz can add air, while a cut at 200Hz can reduce muddiness from body resonance. For a metal rhythm guitar, a high-pass at 80Hz and a 3dB cut at 350Hz help the part sit tightly with the kick drum.
4. Use Compression and Add Effects
Compression helps control dynamic swings, making quieter notes more audible and loud peaks less jarring. Set a modest ratio (2:1 to 4:1), a medium attack (20–40ms), and aim for 2–4dB of gain reduction. For rhythm parts, this keeps strumming even; for leads, it adds sustain and focus. Apply reverb subtly for depth—short rooms for rhythm, longer plates or halls for leads. Delay works well on solos or melodic lines; try a dotted eighth note or slapback delay for classic sounds. For example, add a short plate reverb to a clean funk rhythm guitar for space, or a slapback delay to a blues solo for vintage vibe. Avoid stacking too many effects, which can muddy the mix. Always compare your processed track with the dry signal to maintain clarity and musicality.
5. Master the Stereo Mix for Final Polish
After mixing, render your session to a stereo file for mastering. Use a mastering EQ for gentle tonal adjustments; a multi-band compressor to tame unruly frequencies; and a limiter to raise loudness without clipping. Set your limiter’s output ceiling to -1dB for safety. Compare your track to reference mixes in your genre, matching overall tonal balance and loudness. Listen on multiple systems—headphones, speakers, car—to ensure your master translates well everywhere. Make small tweaks as needed, but avoid drastic changes at the mastering stage. For instance, when mastering a modern indie guitar track, use a high shelf EQ to add sparkle above 10kHz and a multi-band compressor to control low-mid buildup from layered guitars. When satisfied, export in the appropriate format for your platform (WAV for uploads; MP3 for demos).
Recommended Settings and Practical Examples for Guitar Mixing & Mastering
Start with these settings as a baseline, then adjust to taste for your song and style:
- Classic Rock Rhythm Guitar: High-pass EQ at 80Hz, cut 3dB at 300Hz, boost 2dB at 3.5kHz. Compression: 3:1 ratio, 25ms attack, 50ms release, target 3dB gain reduction. Pan doubled tracks 70% left/right for width. For example, double-track a Gibson Les Paul through a Marshall amp, then apply these settings for a tight, punchy sound reminiscent of AC/DC or Led Zeppelin.
- Clean Fingerstyle Acoustic: High-pass at 60Hz, gentle boost 1.5dB at 12kHz for air. Compression: 2:1 ratio, fast attack (10ms), short release. Add subtle plate reverb (1.2s decay) for natural ambiance. On a Taylor 314ce, these settings help fingerpicked parts remain clear and resonant without boominess.
- Lead Electric Guitar: Boost 2dB at 2.5kHz or 4kHz for clarity, tame 6–8kHz if harsh. Compression: 4:1 ratio, 30ms attack. Add slapback delay (90ms, 15% wet) and a longer reverb for solos. For example, a Fender Stratocaster lead in a blues track benefits from this chain, cutting through the mix without becoming piercing.
- Mastering: Gentle high shelf above 10kHz (+1dB) for sparkle, cut below 40Hz if boomy. Multi-band compression with slow attack, light ratio. Use a limiter set to -1dB true peak and keep integrated loudness around -12 LUFS for streaming. When mastering a layered post-rock guitar instrumental, these settings ensure clarity and competitive loudness without distortion.
Always adapt these settings to fit your arrangement and genre. Solo tracks to identify issues, but finalize adjustments while listening to the full mix. For quick reference, the Harniciuk Sonic mix & master workflow offers preset chains and genre-based templates for guitarists.
Common Mixing & Mastering Mistakes (and How to Avoid Them)
- Over-EQ’ing and Over-Compressing: Heavy-handed EQ or compression can sap life from your guitar tone. Make incremental changes and always A/B with the original signal. If your guitars sound dull or flat, roll back extreme settings. For example, scooping too much midrange from a Telecaster rhythm can make it disappear in the mix, while over-compressing a jazz guitar solo can remove its expressive dynamics.
- Ignoring Phase Problems: Layering multiple takes, especially with different amps or mics, can introduce phase cancellation. Check phase alignment by flipping polarity on one track and listening for a fatter or thinner sound. Nudge tracks manually if needed to align waveforms. For instance, when double-miking a Martin D-28 acoustic with a condenser and a dynamic mic, phase issues can cause the low end to vanish unless checked and corrected.
- Mixing in Solo Too Often: Soloing tracks is useful for troubleshooting, but make most decisions while listening to the full mix. Guitars that sound huge alone may fight with drums or vocals when everything plays together. A distorted Ibanez RG may sound massive soloed, but could mask snare transients or vocal clarity in context if not balanced in the mix.
- Too Much Reverb or Delay: Overusing effects can push guitars into the background and muddy the mix. Use reverb and delay sparingly—apply just enough for space, then pull back until you miss it. For example, a lush hall reverb on every guitar in a shoegaze track can create a washy mess; instead, use short reverbs for rhythm and longer ones only for select leads.
- Skipping Reference Tracks: Without comparing your mix to professional releases, it’s easy to end up with odd tonal balances or loudness issues. Always use reference tracks in your DAW to match overall vibe and clarity, especially in your chosen genre. For example, reference John Mayer’s “Slow Dancing in a Burning Room” for clean blues tones, or Foo Fighters’ “Everlong” for layered rock guitars.
Frequently Asked Questions
- Should I mix guitar tracks in mono or stereo?
Mixing in stereo is recommended for most modern guitar music, allowing you to pan rhythm and harmony parts for width. However, always check your mix in mono to catch and correct phase issues, ensuring nothing vital disappears and your song sounds solid on any system. For example, a dual rhythm setup with a Gibson SG left and a Fender Telecaster right creates width, but mono-checking ensures both are still present on single-speaker devices. - What’s the best order for guitar effects in a mix?
Start with corrective EQ to address problem frequencies, then add compression to control dynamics. After that, apply creative EQ or saturation, and finish with time-based effects like reverb and delay. This order keeps your guitar sound controlled and prevents reverb from being compressed unnaturally. For instance, a jazz hollowbody benefits from EQ and compression before adding a subtle room reverb for natural space. - How loud should my mastered guitar track be for streaming?
For streaming platforms like Spotify or Apple Music, aim for an integrated loudness of -14 to -10 LUFS, depending on your genre. Keep peaks at or below -1dB true peak to avoid distortion after platform normalization. Use a meter plugin to check these values before exporting your master. For example, a heavy metal track with layered guitars should target -10 to -11 LUFS, while a solo acoustic piece can sit closer to -14 LUFS for natural dynamics. - Do I need expensive plugins to get a pro guitar mix?
No. Most DAWs include capable EQ, compressors, reverbs, and limiters. The key is understanding how to use these tools effectively and making critical listening a habit. While advanced plugins offer extra features, great results come from workflow, not price tags. For example, Logic Pro’s stock Channel EQ and Compressor are more than enough to mix a professional-sounding indie guitar track.
Final Practical Takeaway
Consistent, pro-sounding guitar tracks come from clear organization, purposeful mixing, and careful mastering. Focus on getting your tracks clean and balanced before reaching for effects or advanced plugins. Use the Harniciuk Sonic workflow and mix & master tools as a practical reference, and check your results against songs you admire. Each project is an opportunity to refine your ear and workflow—small improvements add up over time. With these steps, you’ll develop the confidence to produce guitar tracks that sound polished, musical, and ready for any audience.