
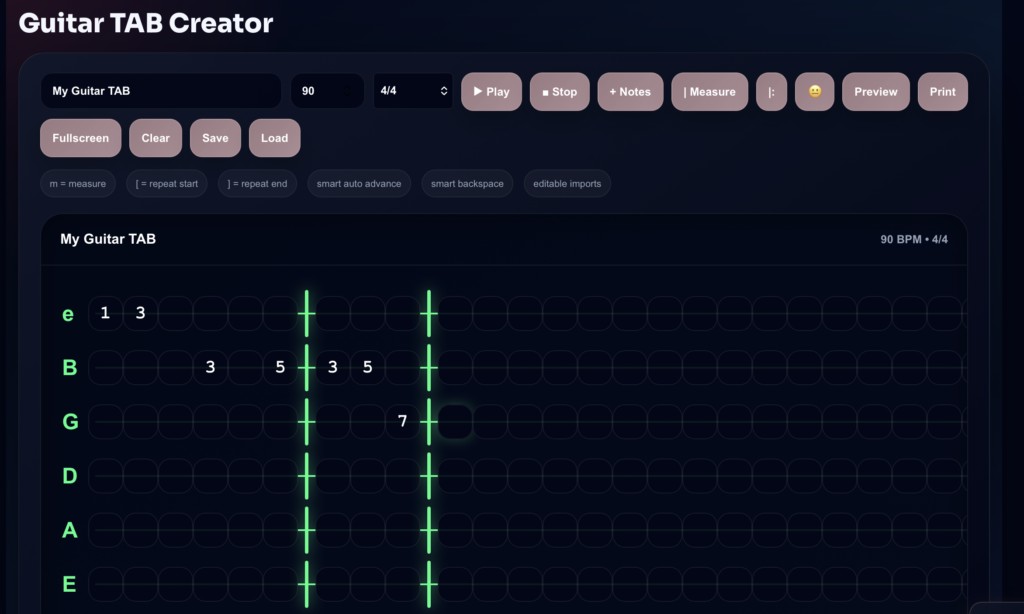
Learning to read and write guitar TAB (tablature) is one of the most practical skills for beginner and intermediate guitarists. TAB gives you a direct way to translate music to the fretboard and share your ideas with others, without needing to read standard notation. Guitar TAB maps out finger positions string by string, making it easy to learn new riffs, solos, and chord shapes. If you want to figure out songs, write down original material, or communicate musical ideas with friends, understanding how to read and write TAB will save you time and confusion. This guide provides clear steps, concrete examples, common pitfalls, and tool recommendations so you can quickly become confident in both reading existing TAB and writing your own. By following the step-by-step workflow below, you’ll be able to capture your ideas, learn from others, and make your practice sessions more productive, all while keeping your notation clear and accurate for future reference or sharing.
What Is Guitar TAB and How Does It Work? (With Concrete Examples)
Guitar TAB (tablature) is a system that visually represents the guitar fretboard. Each of the six horizontal lines in a TAB diagram matches one of your guitar’s strings: the bottom line is the low E (6th string), and the top line is the high E (1st string). Numbers on these lines tell you which fret to press. For instance, a “3” on the bottom line means you press the 3rd fret on the low E string. If the number is “0,” play that string open. This system allows you to see exactly where to put your fingers for any riff, melody, or chord.
For example, an open D major chord in TAB looks like this:
- e|—2—
- B|—3—
- G|—2—
- D|—0—
- A|——-
- E|——-
This tells you to play the second fret on the high e and G strings, the third fret on the B string, and the open D string, while leaving A and low E silent. TAB can also capture techniques: “h” for hammer-ons (5h7), “p” for pull-offs (7p5), “/” and “\” for slides, “b” for bends, and “PM” for palm muting. For example, a blues lick might read: D|–5h7–5p3–7b9–. Learning these conventions allows you to read complex solos or write your own ideas quickly. When you want to create and share TAB, a tool like the Harniciuk Sonic TAB Creator streamlines the process for clean, accurate notation.
Step-by-Step Workflow: How to Read & Write Guitar TAB
1. Map Each TAB Line to Your Guitar Strings
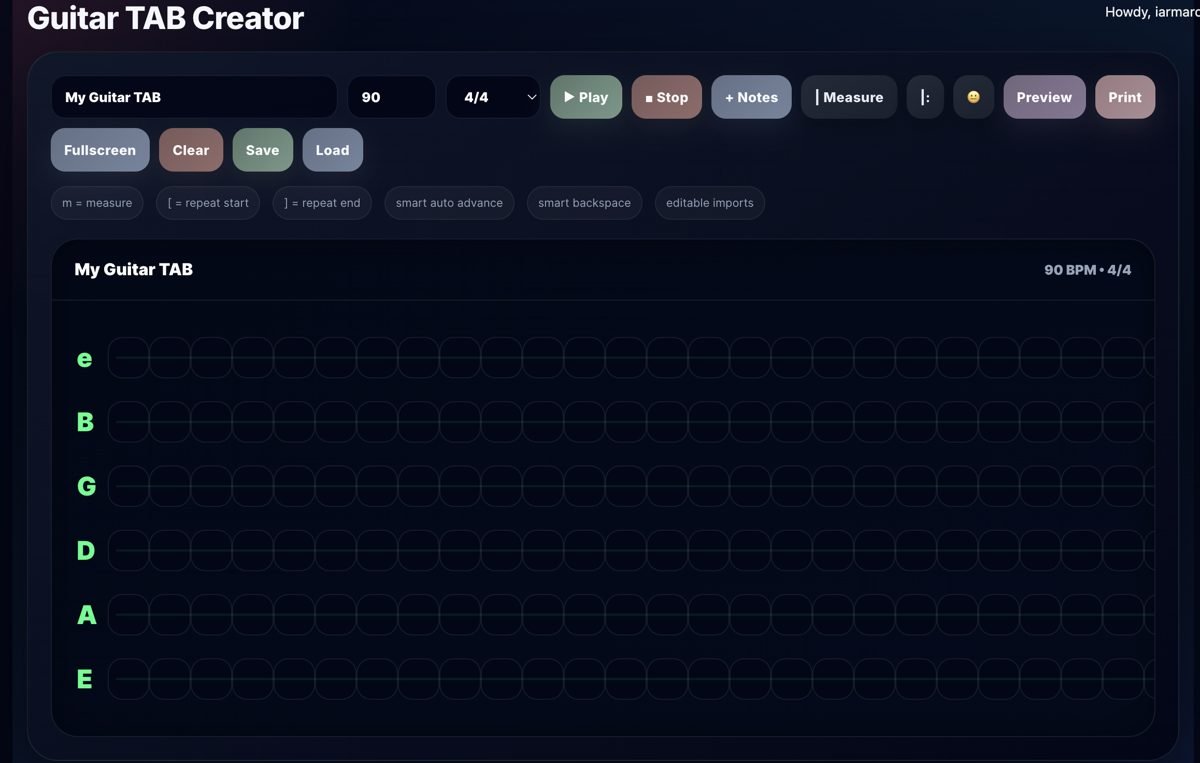
Begin by familiarizing yourself with how the six lines of TAB relate to your guitar. The lowest line (on paper or screen) is your thickest string (low E), while the top line is your thinnest (high E). Read left to right. If you see a number on a line, that’s the fret you press on that string. For example, if the third line from the top has a “2,” that’s the second fret of the G string. Regularly cross-check the lines with your actual guitar to avoid string order mix-ups. Practice by translating simple chord shapes or scales from TAB to your fretboard until this mapping becomes second nature. For instance, try mapping the opening notes of “Sunshine of Your Love” by Cream, which starts on the D string, 12th fret, and moves to the A string, 10th fret. This hands-on approach cements the connection between TAB and your instrument.
2. Decode and Notate Guitar Techniques Clearly
TAB uses a range of symbols to represent guitar techniques. For example, “h” is for hammer-ons (e.g., 5h7), “p” for pull-offs (7p5), “/” and “\” for slides (5/7 or 7\5), “b” for bends (7b9), and “PM” for palm muting. When reading, pause at any symbol and play the technique slowly to develop muscle memory. When writing your own TAB, include these notations directly after the fret number or between notes. For example, the intro to “Sweet Child O’ Mine” by Guns N’ Roses uses slides and pull-offs, which are notated as 12/14 or 15p12. If you’re unsure, consult a reference list of TAB symbols until you memorize the most common ones. This ensures your TABs are expressive and easily understood by others.
3. Add or Interpret Rhythm and Timing
Standard TAB doesn’t specify rhythm, which can lead to confusion. When reading, listen closely to the original song or find TABs with standard notation above them for timing guidance. When writing, make your rhythms clear by spacing numbers to indicate duration (wider gaps for longer notes, close together for quick notes). You can also add vertical bars “|” for measures and write basic rhythm cues (like “q e e q” for quarter and eighth notes) above the TAB. For example, the riff from “Seven Nation Army” by The White Stripes uses repeated quarter notes, so space the numbers evenly and use bars to mark each measure. If you’re sharing with others, providing a simple rhythm guide helps ensure your music is played as intended.
4. Chunk the Music Into Manageable Sections
Breaking a song or riff into smaller sections makes reading and writing TAB much more manageable. Instead of transcribing or learning an entire song at once, focus on one phrase, riff, or bar. For example, write or practice just the intro to “Wish You Were Here” by Pink Floyd, then move to the verse, then the chorus. Label each section clearly (e.g., “Intro,” “Chorus”) in your TAB. This approach helps prevent overwhelm, makes mistakes easier to spot, and speeds up the learning or writing process. Practicing or editing one chunk at a time also builds confidence and muscle memory more effectively.
5. Use a TAB Tool for Precision and Sharing
Handwriting TAB can lead to formatting errors, messy spacing, or lost details. For best results, use a dedicated online TAB editor like the Harniciuk Sonic TAB Creator. Such tools let you enter notes, technique symbols, and labels with proper alignment, add rhythm cues, and export or share your work in clean digital formats. They are especially useful for editing, collaboration, and ensuring your TAB remains readable over time. If you’re working on complex arrangements, such as the harmonized guitar parts in “Hotel California” by The Eagles, or want to collaborate, using a digital TAB tool is a key part of an efficient workflow.
Recommended Settings, Formatting, and Realistic TAB Examples
Start with clear, simple examples to build comfort reading and writing TAB. For a classic single-string riff, try the beginning of “Smoke on the Water”:
- D|—0—3—5—0—3—6-5—
- A|—0—3—5—0—3—6-5—
If you’re writing a power chord progression, it might look like this (think “Iron Man” by Black Sabbath):
- E|——————–
- A|—5—7—9—7—-
- D|—7—9—11–9—-
- G|——————–
- B|——————–
- e|——————–
For rhythm, use vertical lines (|) to separate measures and space numbers to reflect timing. Always label each section (“Verse”, “Chorus”) and add symbols for techniques. For fingerstyle, write the melody on the higher strings and use notation to indicate finger assignments if needed. For example, the intro to “Blackbird” by The Beatles is often tabbed with finger assignments and alternating bass notes. If working with more complex arrangements, start by tabbing the melody or main riff, then add supporting notes or harmonies. Use the formatting features in your TAB tool to keep everything aligned and readable, and check your work by playing through slowly after each section.
Common Mistakes in Reading & Writing TAB (and How to Avoid Them)
- Mixing Up String Order: Beginners often confuse the top and bottom lines of TAB, causing incorrect fingerings. Double-check that the lowest line is always your low E string and the top line is the high E string. Physically point to the strings as you read the TAB until you build confidence. For example, misreading the iconic “Day Tripper” riff by The Beatles can lead to playing the wrong string entirely if the lines are mixed up.
- Omitting Rhythm Information: Not including any rhythm or timing cues makes it difficult for others to play your TAB accurately. Always add spacing, vertical bars, or written rhythm cues, especially when sharing your work or learning an unfamiliar piece. The main riff of “Enter Sandman” by Metallica, for instance, loses its groove without proper rhythmic spacing.
- Leaving Out Technique Symbols: Skipping hammer-ons, slides, bends, or palm muting can result in a bland or incorrect performance. Make a habit of writing in every technique symbol as soon as you spot or use it, and refer to a cheat sheet if needed. The “Stairway to Heaven” solo relies on bends and slides; omitting these changes the feel entirely.
- Poor Formatting or Overcrowding: Crowded numbers, lack of section labels, or inconsistent spacing make TAB hard to read. Use a digital TAB tool for neat alignment, and always label sections clearly. Re-read or play through your TAB to make sure it’s easy to follow. For example, the fast runs in “Eruption” by Van Halen are much easier to learn from well-formatted TAB.
- Not Reviewing or Testing Your TAB: Skipping a careful playthrough after writing can leave unnoticed errors. Always play your TAB slowly, listening for mistakes in notes, rhythm, or fingerings, and fix any issues before sharing or saving it. Even simple riffs like “Seven Nation Army” can be misnotated if not checked by ear and hand.
Frequently Asked Questions
- How can I tell which finger to use when reading TAB?
Standard TAB does not specify fingerings, but you can use common sense: use your index for low frets, middle for mid-range, and ring or pinky for higher frets. For tricky passages, write finger numbers below the TAB or experiment with what feels most comfortable and efficient for your hand size and technique. For example, in “Blackbird” by The Beatles, using your thumb for bass notes and fingers for melody is common, and can be notated below the TAB for clarity. - Can TAB show chords, or is it only for single notes?
TAB is excellent for both. To show a chord, stack fret numbers vertically on the appropriate strings, so all are played at once. For example, a C major chord would appear with 0, 1, 0, 2, 3, and an X for the muted low E. This makes chord shapes and transitions easy to visualize and play. Songs like “Wonderwall” by Oasis are often written in TAB with full chord shapes for strumming patterns. - What’s the best way to add rhythm details to my TAB?
You can show rhythm by spacing notes according to their duration, using vertical bars for measures, and writing simple rhythm cues above the TAB (like “q q e e” for quarter and eighth notes). Listening to the original recording and counting along will help you notate rhythms more accurately. Some TAB editors, including those in the Harniciuk Sonic workflow, offer built-in rhythm tools for even clearer notation. - Are there tools that make writing and sharing TAB easier?
Yes, using an online TAB creator such as the Harniciuk Sonic TAB Creator makes entering, editing, and exporting TAB much easier. These platforms provide formatting help, built-in technique symbols, and options for sharing your work with other guitarists. For additional practice and songwriting resources, you can also explore the guitar tools collection at Harniciuk Sonic.
Final Practical Takeaway
Reading and writing TAB is a foundational guitar skill that makes learning, creating, and sharing music faster and easier. Focus on mapping TAB lines to strings, using clear technique symbols, and adding rhythm cues for accuracy. Break music into sections for easier practice and use a TAB tool for neat, shareable results. Regularly review and play through your TAB to catch errors and improve your notation. With these habits, you’ll quickly move from copying songs to confidently writing and sharing your own riffs and arrangements.