
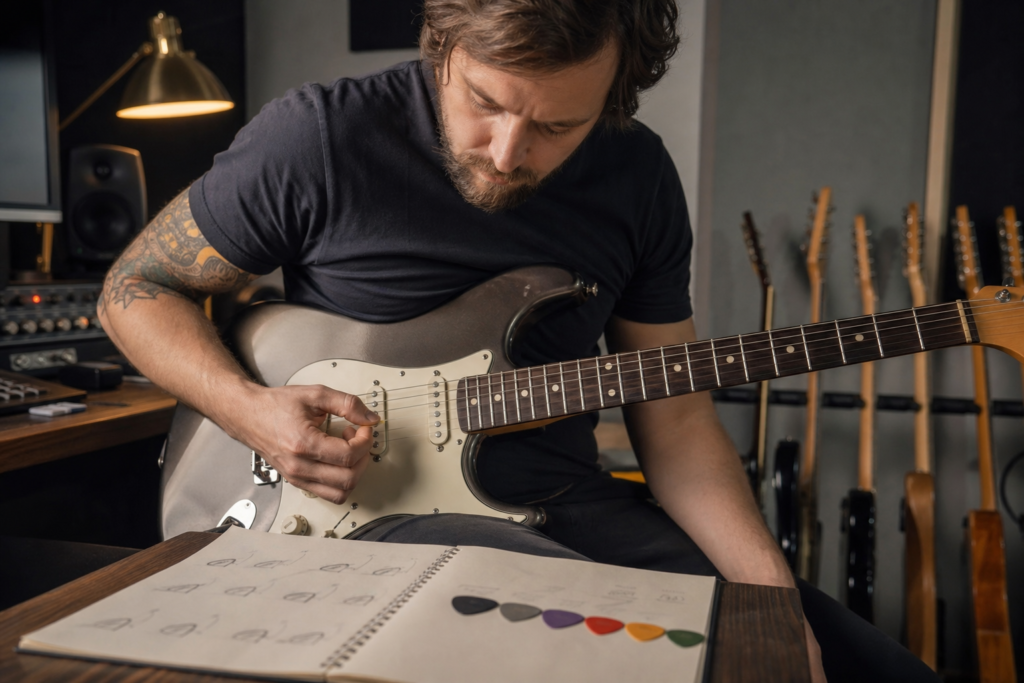
Adjusting the angle of your guitar pick can transform both your tone and your playing speed, yet most players never experiment beyond their default grip. This guide answers exactly how pick angle affects your sound, attack, and fluency, and shows you how to run controlled experiments to find your personal sweet spot. By systematically varying your pick angle and focusing on real musical examples, you can optimize your sound for everything from chunky rhythm to fluid lead playing. We’ll walk through why the angle matters, the physics behind the change in tone and speed, and a step-by-step workflow that takes you from basic strumming to advanced alternate picking. If you want to develop a more consistent technique or adapt your tone on demand, these practical guitar pick angle experiments offer a clear path forward. You’ll also get concrete starting points, common mistakes to avoid, and answers to the most frequent questions. For example, try playing a classic AC/DC riff with your usual pick angle, then experiment with a more angled approach to hear how the attack and clarity change. Or, use a flat pick angle for a lush open C chord on an acoustic guitar and compare it to a 30° angle for a funkier, brighter sound. These exercises will help you understand the real-world impact of pick angle adjustments on both electric and acoustic guitars.
How Pick Angle Shapes Guitar Tone and Speed
The angle at which your pick strikes the strings dramatically influences your sound and playing efficiency. When the pick is held parallel to the string (flat picking), you get maximum contact and a full, rounded tone. This approach can give you a powerful attack, but it may also create more friction and resistance, which can slow down fast passages. For example, playing the intro to “Wish You Were Here” by Pink Floyd with a flat pick angle produces a warm, resonant sound, perfect for acoustic ballads. Conversely, angling the pick—rotating the tip slightly downward or upward relative to the string—reduces the area of contact. This slanted approach produces less drag, allowing the pick to glide over the string, making rapid alternate picking or sweep picking much easier. Guitarists like Paul Gilbert often use a 30°-45° downward angle for fast alternate picking, as heard in his “Technical Difficulties” solo.
For tone, a flatter pick angle tends to produce a warmer, rounder sound with more low-end and a pronounced attack. As you increase the angle, the sound gains brightness, clarity, and a sharper edge, often described as “snappier” or more percussive. Many lead players, for example, tilt the pick slightly to gain articulation and speed, while rhythm players might keep it flatter for chordal richness. Experimenting with angle is especially important on electric guitar with distortion, where subtle changes can tame harshness or add bite. Try strumming a chord progression like the “Knockin’ on Heaven’s Door” changes, then alternate picking a scale such as the A minor pentatonic, adjusting the pick angle each time, and notice how both the feel and the sound evolve. Use a chord analyzer to visualize how your pick attack affects chord voicings and clarity.
Step-by-Step Workflow: Guitar Pick Angle Experiments
1. Set a Baseline with Your Default Pick Angle
Begin by playing a familiar riff or scale using your usual grip and pick angle. For instance, play the main riff from “Smoke on the Water” or a simple E minor pentatonic scale. Record yourself, or simply focus on how the guitar feels and sounds. Take note of the tone quality, ease of movement, and any tension in your wrist or forearm. This baseline is crucial for comparing results as you experiment. If you’re unsure of your current pick angle, use a mirror or phone camera to check the relationship between the pick and the strings. For the most accurate assessment, play both single-note lines and full chords, such as an open G chord followed by a barre chord like F major.
2. Test a Flat Pick Angle (0°)
Hold the pick as close to parallel with the string as possible, so the broad face strikes directly. Play the same riff, scale, and chord progression as before. For example, strum a D major chord and pick through a C major scale. Listen for a thicker, rounder tone and notice any change in resistance. Many players find that a completely flat angle produces a big sound but can feel slightly sticky, especially during fast passages like the intro to “Sweet Child O’ Mine” by Guns N’ Roses. Take mental or written notes about the tone, attack, and how your hand feels. If you’re using distortion or overdrive, pay attention to how the note definition changes with this angle, especially when playing palm-muted power chords.
3. Experiment with a Moderate Downward Angle (30°-45°)
Slightly rotate the pick downward so the edge closest to the floor hits the string first. Repeat your riff or scale, and focus on how much easier or harder it is to move between strings. Try playing the intro to “Master of Puppets” by Metallica or a fast chromatic run. Most players find this angle reduces resistance and boosts pick speed, while adding a brighter, more percussive attack. This is a popular angle for alternate picking and lead work, as used by John Petrucci in Dream Theater solos. Again, record your results or jot down observations about the clarity, speed, and comfort. Try both clean and distorted tones to hear how the attack changes, especially on single-note leads versus chord stabs.
4. Try an Upward Angle and Reverse Picking (if desired)
Less common but still useful, some players angle the pick upward (the edge closest to the ceiling strikes first) for specific effects, especially for aggressive upstrokes or certain rhythm techniques. Play the same musical examples with this reversed angle, and compare the feel and sound. For instance, use this technique for funk strumming, as in “Superstition” by Stevie Wonder, or for percussive acoustic patterns. You may notice a thinner, more nasal tone or a unique chirp. This angle is often used in funk or percussive rhythm playing, and can help accentuate upstroke accents. Make sure to note if your hand feels strained or if control becomes harder on fast passages, such as rapid ska upstrokes.
5. Compare Speed and Tone—Then Dial in Your Preference
Review your recordings or notes from each angle. Ask yourself: Which angle feels most natural at higher speeds? Which produces the tone you want for your style? There’s no universal “best” angle—many guitarists use different angles for rhythm, lead, or hybrid picking. Use a metronome or online practice tool to test your maximum clean speed at each angle. For example, try playing sixteenth notes at increasing tempos on a single string, or alternate picking through the “Sweet Home Alabama” riff. Gradually adjust until you find a compromise between comfort, speed, and desired tone. This experimentation is at the heart of the Harniciuk Sonic workflow: test, compare, and adapt.
6. Integrate Your Chosen Angle into Daily Practice
Once you’ve found the angle(s) that work for you, make them part of your regular warm-up and technical routines. Practice scales, arpeggios, and chord changes while consciously maintaining your preferred pick angle. For example, use your chosen angle when running through the “Hotel California” intro or practicing sweep picking arpeggios. Over time, this will become automatic, helping you avoid reverting to inefficient habits. For advanced practice, occasionally revisit all angles to keep your technique flexible. If you’re working on more complex material or multiple genres, deliberately switch angles to match the sound and feel you want, such as using a sharper angle for metal solos and a flatter one for jazz comping.
Recommended Pick Angles and Practical Examples
For most rhythm playing, start with a pick angle of 0° to 15°, keeping the pick nearly flat against the string. This will produce a full-bodied chord sound, great for clean or slightly overdriven tones. Try strumming the chords to “Wonderwall” by Oasis with a flat pick, then with a slight angle to hear the difference in attack and brightness. For alternate picking and lead lines, try angling the pick downward between 30° and 45°. This reduces drag, making it easier to play fast scalar runs and articulate single notes, as in the solo for “Stairway to Heaven” by Led Zeppelin. For genres like funk or percussive acoustic strumming, experiment with a steeper upward or downward angle to accentuate string attack and rhythmic clarity, such as in “Get Lucky” by Daft Punk.
For example, try playing a basic pentatonic scale using both a flat and a 30° downward-angled pick. Notice how the notes “pop” more with the angled approach. Similarly, strum an open G chord flat, then with a moderate angle—listen for the difference in brightness and pick noise. Use the metronome tool to measure your top clean speed at each angle and track your progress. Adjust based on the context: use a flatter angle for lush ballads, and a sharper angle for aggressive solos. For advanced articulation, try hybrid picking with a moderate angle for the pick and fingers, as in country licks or “Chicken Pickin'” styles.
Common Mistakes and How to Avoid Them
- Over-rotating the pick: Angling the pick too steeply (over 60°) can cause it to slip, miss strings, or produce a scratchy, uneven tone. For example, if you try to play “Enter Sandman”‘s main riff with an extreme angle, you might lose note clarity. Stick within 0°-45° for most contexts.
- Gripping too tightly: Excessive tension in your picking hand reduces fluidity and can cause fatigue. If you find your hand cramping while playing “Blackbird” by The Beatles, try loosening your grip. Hold the pick firmly enough to control it, but loose enough to allow small adjustments.
- Ignoring context: Using the same pick angle for every style or song can limit your tonal palette. For instance, using a sharp angle for jazz comping can make chords sound too harsh. Adapt your angle based on whether you’re strumming, picking leads, or playing rhythm.
- Neglecting both upstrokes and downstrokes: Focusing only on one direction (usually downstrokes) can create imbalance. Practice with both strokes to ensure consistent tone and speed, as in the “Johnny B. Goode” intro, which alternates both directions.
- Not comparing recordings: Relying only on memory makes it hard to judge subtle differences. Record each experiment for objective feedback, then compare to your baseline. For example, listen back to your “Sweet Home Alabama” picking at different angles to hear which sounds best.
Frequently Asked Questions
- Does pick thickness matter as much as angle?
Both pick thickness and angle affect tone and speed, but angle offers more immediate and flexible changes. Thicker picks, such as a Dunlop Jazz III, often accentuate the effect of angling, while thinner picks produce less attack noise. Try combining different picks with different angles to find your ideal setup, especially when switching from acoustic strumming to electric lead. - Should I use the same pick angle for chords and solos?
Not necessarily. Many players use a flatter angle for chords and a sharper downward angle for single-note lines. Adjusting your pick angle for the context helps you get the best sound and playability for each part. For example, use a flat angle for “Let It Be” chords and a sharper angle for “Sultans of Swing” lead lines. Experiment until switching angles feels natural. - How do I prevent pick slippage at steeper angles?
Pick slippage often happens with steep angles or when gripping too loosely. Use a textured pick or add some grip with a bit of tape. Make sure your hand is relaxed but secure, and experiment with grip pressure until the pick feels stable during fast playing, such as in “Eruption” by Van Halen. - Is there an ideal pick angle for speed picking techniques?
A moderate downward angle (30°-45°) is often favored for speed picking, as it reduces drag and allows the pick to glide over the strings. However, the best angle is the one that lets you play quickly and cleanly without tension or unwanted noise. Test different settings with a metronome to find your personal best, especially when practicing shred licks or sweep picking arpeggios.
Final Practical Takeaway
Small changes in your guitar pick angle can make a big difference in both tone and playing speed. By systematically experimenting—testing flat, moderate, and steeper angles—you’ll discover what works best for your hands, style, and tonal goals. Integrate your findings into daily practice, revisit them as you tackle new genres or techniques, and use tools like a metronome or practice workflow to track your progress. For continued improvement, try new songs and genres, and don’t be afraid to adjust your pick angle as your playing evolves. Regular pick angle experiments keep your technique adaptable and your sound consistently improving.
To keep each picking experiment consistent, map the test riff in guitar TAB and reuse the same notes at every pick angle.
If pick-angle changes expose extra string noise, work through these string muting drills before increasing speed.