
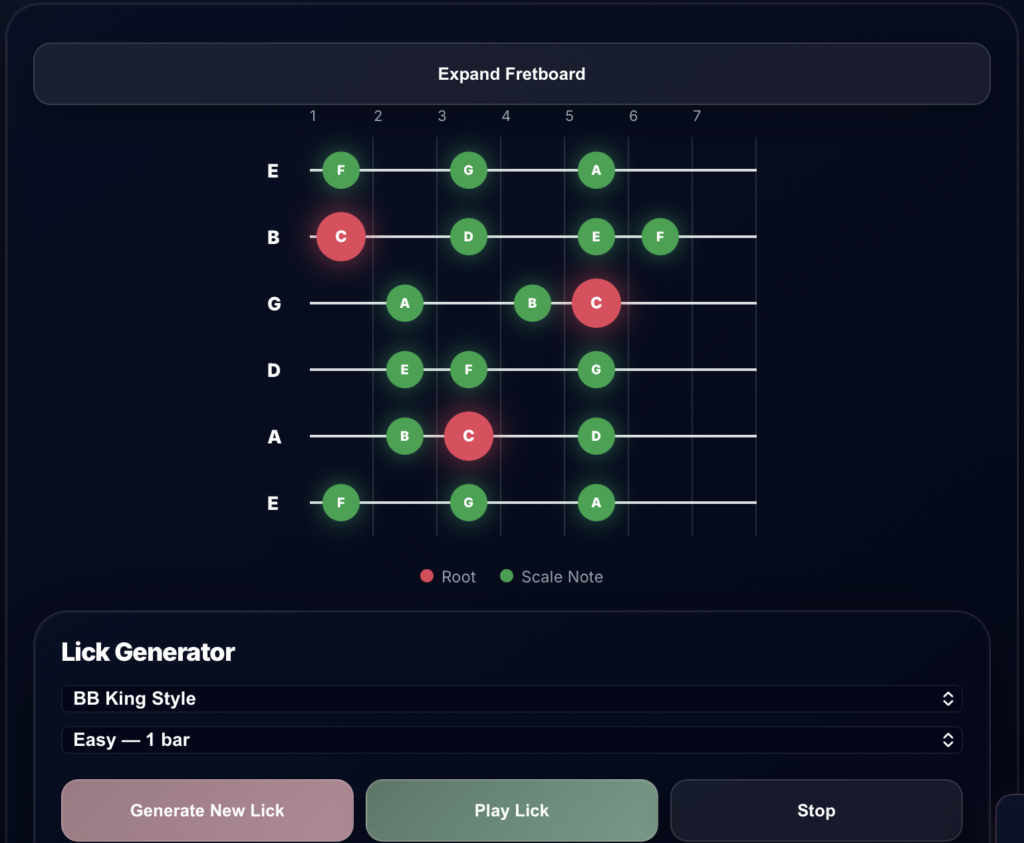
Improvisation & soloing let guitarists create fresh, expressive music in real time, whether jamming with friends, recording, or playing live. Many guitarists want to improvise but struggle with where to start, how to pick the right scales, or how to make solos feel like music—not just random notes. This article answers those questions with practical, actionable steps for beginner and intermediate guitarists. You’ll learn how to find the right scale for a song, connect your playing to the underlying chords, craft musical phrases, and practice improvisation in ways that actually lead to progress. We’ll also cover specific settings, real-world examples, the most common mistakes, and direct answers to popular questions. For hands-on help, tools like the scale generator make it easy to visualize scales across the fretboard, so you can focus on creativity and musicality rather than guesswork. By the end, you’ll have a reliable workflow to build your improvisation & soloing skills.
What Improvisation & Soloing Mean on Guitar
Improvisation on guitar is the process of making up melodies and solos on the spot, using your knowledge of scales, chords, and rhythm. Soloing is often the most visible kind of improvisation—playing a lead line over a chord progression, typically during a break in a song. For example, if the band is playing a 12-bar blues in E, you might use the E minor pentatonic or E blues scale to craft melodic lines that follow the chord changes. The essence of great improvisation is not just running up and down scale shapes, but making musical choices: targeting chord tones, using phrasing techniques like bends and slides, and responding to the groove. Listening is as important as playing—your best solos will react to what the rhythm section is doing. A practical example: over a G–C–D progression, you can use the G major pentatonic scale, but if you emphasize the notes B, D, and G (the chord tones of G), your solo will sound more connected to the song. The scale generator is especially useful here, letting you see which notes to target in each position. Over time, you’ll learn to anticipate chord changes and shape your phrases for maximum musical impact.
Step-by-Step Workflow: Improvisation & Soloing
1. Identify the Key and Chord Progression
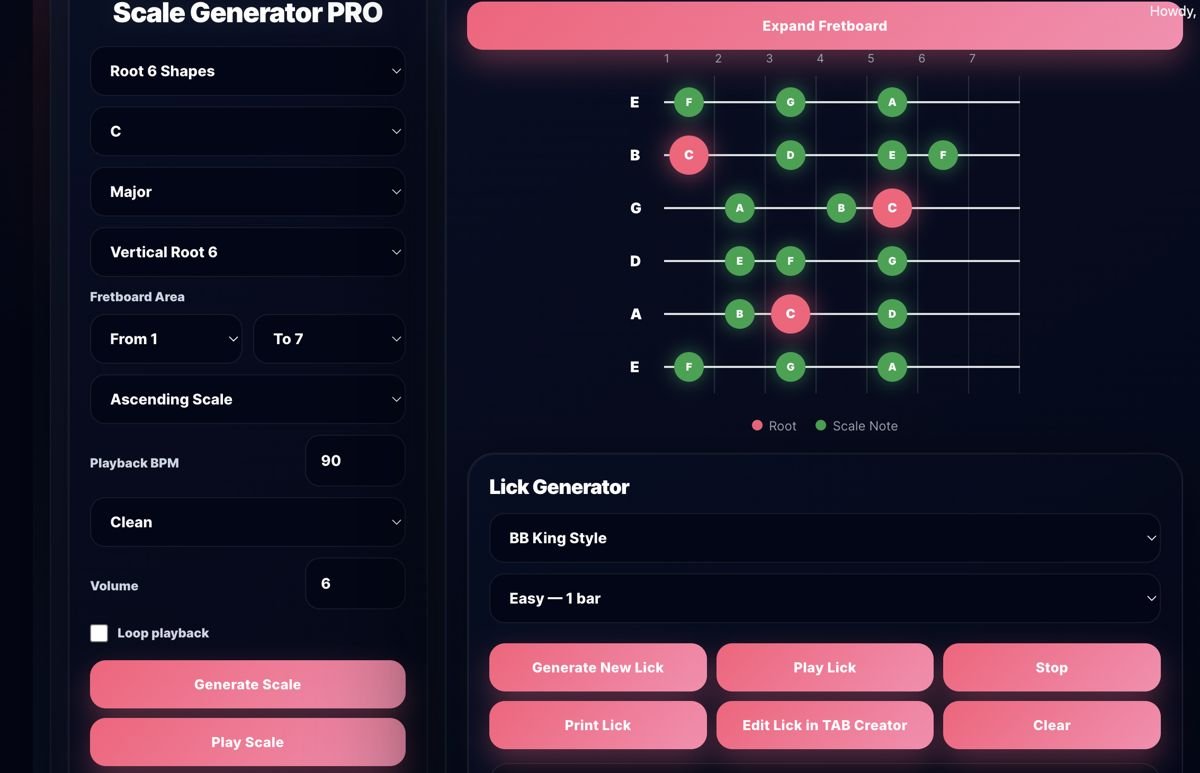
Start by figuring out what key the song or backing track is in, and write down the chord progression. Listen for the tonal center—the note or chord that feels like “home.” For example, if a progression cycles through Em–C–G–D, the key is likely E minor or G major. Write out each chord in order. Being clear about the key and chords is essential because it tells you which scales and notes will fit. If you’re unsure, try humming along and see which note resolves naturally—this is often the root of the key. Use the scale generator or a chord analyzer to confirm your choice if needed.
2. Choose a Scale or Mode That Matches the Progression
Pick a scale that fits the key and the style of music. The minor pentatonic is the most popular starting point, especially for blues and rock. For a song in A minor, use the A minor pentatonic; for C major, use the C major scale or C major pentatonic. If you want a jazzier or funkier sound, try the Dorian mode—e.g., D Dorian for a song centered on D minor. The scale generator can show you all the fingerboard positions for your chosen scale. Stick to one position at first to avoid getting lost, then gradually connect adjacent shapes as you improve.
3. Locate and Emphasize Chord Tones in Each Phrase
Improvisation sounds most musical when your phrases land on chord tones (root, third, fifth, or sometimes the seventh of each chord). For example, in a blues in A (A7–D7–E7), target A, C#, E for A7; D, F#, A for D7; and E, G#, B for E7. Find these notes within your chosen scale patterns and practice resolving your phrases to them, especially at chord changes. This approach makes your solos feel intentional and connected to the underlying harmony. As you get more comfortable, experiment with targeting extensions like the 9th or 13th for extra color.
4. Phrase Musically: Use Rhythm, Space, and Techniques
Break your solo into short, memorable phrases—think of “speaking” in sentences, not reciting a string of words. Use rhythmic variation: some phrases can be syncopated, others straight. Leave space between phrases to let your ideas breathe and give listeners time to process. Add expressive techniques like bends, slides, hammer-ons, pull-offs, and vibrato to inject personality. For instance, play a three-note phrase, pause, and then answer it with a variation in a different register. Listen to how vocalists phrase melodies and try to mimic that on your guitar. This will help your improvisation sound more like a musical conversation than a scale exercise.
5. Practice with Backing Tracks and Record Yourself
Use backing tracks or a looper pedal to practice improvising in real time. Start with tracks in common keys (A minor, E major, G blues) and focus on phrasing rather than speed. Recording your sessions is invaluable—listen back to identify which lines are melodic and which are less effective. Ask yourself: Do my phrases connect to the chords? Do I leave enough space? Are my dynamics varied? Over time, this self-feedback loop will help you refine your soloing style. Consider using the backing track generator to create custom tracks for targeted practice.
6. Expand Your Soloing Vocabulary and Experiment
As you gain confidence, learn signature licks from your favorite guitarists and transpose them to other keys. Try mixing scales (e.g., blend minor and major pentatonic) or adding chromatic passing notes for flavor. Challenge yourself with different genres—jazz, funk, country—to expose your playing to new rhythms and ideas. Experiment with odd time signatures or modal progressions to stretch your creativity. Organize new licks and ideas using the Harniciuk Sonic workflow or a practice journal. Over time, your ability to improvise dynamically and musically will grow, and you’ll develop a unique soloing voice.
Recommended Settings and Practical Examples
- Key Selection: Start with A minor or E minor pentatonic—these are easy to visualize and widely used in blues and rock. For pop or folk, C major or G major pentatonic are great starting points.
- Tempo: Set a metronome or backing track to 70–90 bpm for slow, controlled practice. This gives you time to think about phrasing and chord targeting. Try the metronome tool for precise tempo control.
- Scale Example: Over a 12-bar blues in A (A7–D7–E7), use A minor pentatonic (A, C, D, E, G) and aim to land on chord tones at the start of each new chord. For a pop song in C, solo with C major pentatonic (C, D, E, G, A).
- Technique: Create a phrase by sliding from the 5th to the 7th fret on the G string, then bend the 8th fret on the B string up a whole step, resolving to the 5th fret on the high E string—classic blues move.
- Phrasing: Structure your solo with “question and answer” phrases: play a short idea, pause, and respond with a variation. This mirrors how vocalists and horn players build solos.
- Recording: Use your phone or DAW to record improvisation sessions. Listen for phrasing, note choice, and whether your lines fit the chords. Mark your best ideas to reuse in future solos.
Common Mistakes (and How to Avoid Them)
- Playing Too Many Notes Without Musical Phrasing: It’s tempting to fill every moment with notes, but this can sound random and overwhelming. Focus on short, memorable phrases and leave rests between them. Use space to make each idea stand out.
- Ignoring the Chord Progression: Soloing with no regard for the underlying chords results in disconnected, unmusical lines. Always be aware of the current chord and aim for its chord tones, especially at chord changes. Mark these on your fretboard diagrams if needed.
- Staying in One Scale Position: Sticking to a single box limits your melodic range. Once you’re comfortable, learn to connect adjacent scale positions. The scale generator can help you visualize these connections across the neck.
- Lack of Dynamics and Expression: Playing every note at the same volume and attack makes for a flat solo. Vary your picking strength, use slides, bends, and vibrato, and try playing some notes softly and others loudly for more expressive lines.
- Not Listening to the Rhythm Section: Focusing only on your own playing can lead to poor timing or phrasing that clashes with the groove. Actively listen to the drums and bass, and sync your phrasing to the song’s rhythm for a tighter, more musical feel.
Frequently Asked Questions
- What is the easiest scale for guitar improvisation?
The minor pentatonic scale is the go-to choice for most beginners. It’s simple to memorize, works over many genres, and its patterns repeat across the fretboard. Start in the key of A or E for the most common fingerings, and expand to major pentatonic and full major scales as you progress. - How can I make my solos sound more musical and less like exercises?
Focus on phrasing, rhythm, and targeting chord tones. Break your playing into short, singable phrases with rests. Listen to how singers and saxophonists phrase their lines and try to emulate that. Recording yourself and listening back is a great way to spot where your improvisation can become more melodic and intentional. - Should I learn licks or improvise everything from scratch?
Learning licks gives you a vocabulary to draw from and helps you understand how pros build their solos. As you gain experience, blend memorized licks with original ideas and adapt them to different keys and progressions. This hybrid approach leads to the most flexible and expressive soloing style. - Can I practice improvisation without a live band?
Absolutely. Use backing tracks, a looper pedal, or even drum machine patterns to simulate a band environment. There are many free and paid backing tracks online, or you can make your own with a backing track generator. Practicing with accompaniment helps develop timing and the ability to react musically to different contexts.
Final Practical Takeaway
Improvisation & soloing are skills any guitarist can develop with focused, step-by-step practice. Start by identifying the key and chord progression, choose a scale that fits, and target chord tones in your phrases. Use tools like the scale generator to map out note choices and expand your fretboard knowledge. Record your sessions, experiment with phrasing, and learn from both mistakes and successes. Consistent, mindful practice will steadily build your confidence and help you create solos that sound musical and personal.