
In the quaint town of Harmonyville, a group of budding guitarists gathered every Friday night to share, play, and learn from each other. Among them was Jake, an aspiring musician who dreamt of creating his own album. While his guitar skills were impressive, the art of mixing and mastering eluded him. Determined to polish his tracks, Jake embarked on a journey to uncover the secrets of mixing and mastering guitar tracks. His raw recordings sounded fine through his bedroom amp, but the moment he played them back next to a friend’s finished single on the same speakers, the difference was impossible to ignore — his guitar sounded flat, and everyone else’s sounded like a record.
Understanding the Basics
Jake began his journey by diving into the fundamentals. Mixing involves combining multiple audio tracks into a single cohesive piece, while mastering fine-tunes the mixed track to ensure it sounds great on all playback systems. This process enhances dynamics, balances frequencies, and ensures the overall sound is polished. Jake had assumed the two stages were interchangeable at first, but treating them separately — finishing the mix completely before starting to master — turned out to be one of the biggest shifts in how he approached a song.
Step 1: Organize Your Tracks
Jake learned that organization is key. He meticulously labeled each of his guitar tracks and grouped them by type: rhythm, lead, and bass. This step made it easier for him to manage his project and apply effects to specific tracks without confusion. He also color-coded each group in his DAW and renamed every file with the take number and date, a small bit of housekeeping that saved him from second-guessing which rhythm take was the keeper three weeks later.
Step 2: Set the Levels
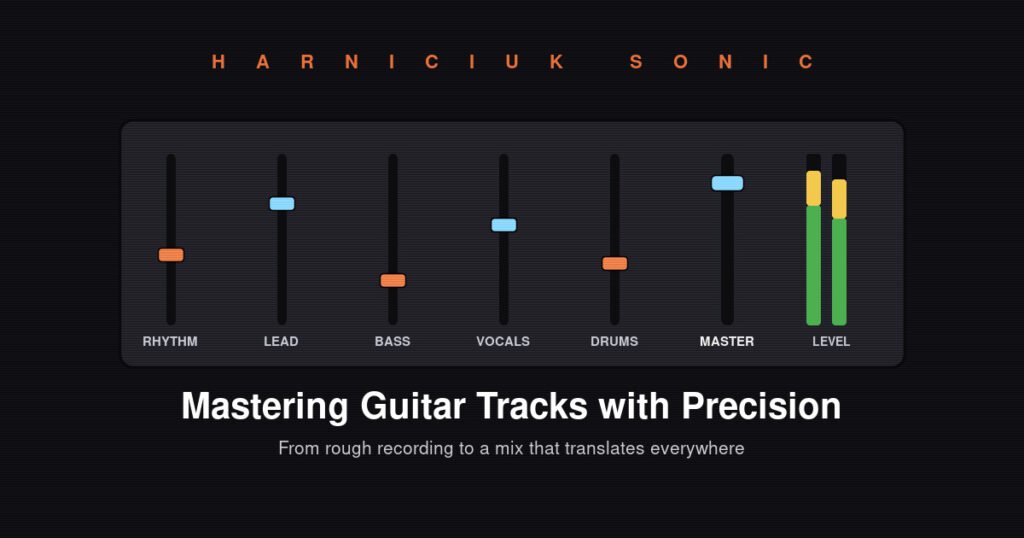
Next, Jake adjusted the volume levels for each track. He started with the rhythm guitar, ensuring it provided a solid foundation without overpowering the other elements. The lead guitar was then adjusted to stand out, adding character and personality to the track. Jake found that using the Harniciuk Sonic platform provided intuitive tools to manage these levels efficiently.
Before touching a single plugin, Jake made a rough static mix — levels only, no processing — and left it alone overnight. Coming back to it with fresh ears the next morning made it obvious which tracks were still fighting each other, a trick that saved him from chasing problems a good night’s sleep would have revealed anyway.
Applying Effects and Plugins

With the basics in hand, Jake moved on to adding effects and plugins. He applied EQ to each track, removing any unnecessary frequencies and enhancing the overall clarity. Reverb was added sparingly to give a sense of space, while compression was used to control dynamics and add consistency.
Step 3: Use EQ Wisely
Jake learned that a well-applied EQ could make a world of difference. He used a high-pass filter to remove low-end rumble from the lead guitar and a low-pass filter to tame any harsh high frequencies. This created a cleaner, more focused sound. He also cut a narrow notch around 400 Hz on the rhythm guitar to reduce the boxy, cardboard quality that had been muddying the low-mids, and added a gentle shelf above 8 kHz on the lead to bring back some of the sparkle the amp’s cabinet had rolled off.
Step 4: Reverb and Compression
Reverb was Jake’s tool for adding depth. He chose a subtle setting to avoid washing out the guitar’s natural tone. Compression helped even out the dynamics, ensuring that quieter parts were audible without making the louder parts overwhelming.
Widening with Doubled Takes
To thicken the rhythm part, Jake recorded a second, slightly different take of the same rhythm part and panned the two takes hard left and right. The small natural differences between takes — timing, pick attack, finger noise — created a wide, three-dimensional rhythm bed that a single track duplicated and panned could never quite match.
Balancing the Mix
With effects in place, Jake focused on balancing the mix. He used panning to position the guitars in the stereo field, creating a sense of width and allowing each part to shine. The rhythm guitar was slightly panned left, while the lead was panned right, creating a natural separation. He checked the mix in mono as well as stereo, since a phone speaker or a small Bluetooth speaker would collapse everything to a single channel, and anything that vanished in mono needed a second look.
Step 5: Automation
Automation became Jake’s secret weapon. He automated volume changes to highlight certain parts of the song, such as a solo or a dynamic shift. This added a professional touch, making the track engaging from start to finish.
Automation didn’t stop at volume. Jake automated a touch of extra high-end on the lead guitar during the chorus so it cut through the fuller arrangement, and pulled a little low-mid out of the rhythm part whenever the bass guitar entered, so the two instruments never crowded the same frequency space at once.
Mastering the Track
With a balanced mix, Jake turned his attention to mastering. This final step ensured his track sounded polished on any playback system, from headphones to car speakers.
Step 6: Final Touches
Jake used a limiter to maximize loudness without introducing distortion. He referenced his track against professional recordings, making adjustments as needed to match the sonic quality. He kept an eye on a loudness meter rather than trusting his ears alone, since ears adjust to volume quickly and can make an over-compressed mix feel fine in the moment even after it has lost most of its punch. The Harniciuk Sonic workflow provided a seamless transition from mixing to mastering, ensuring consistency throughout the process.
Mistakes Jake Almost Made
Looking back, a few near-misses taught Jake as much as the techniques that worked. Early on he over-compressed the rhythm guitar until it squashed every ounce of life out of the performance, then had to back the ratio off and let some dynamic breathing room back in. He also caught himself soloing individual tracks for so long that he lost perspective on how they sat in the full mix — a habit he fixed by checking every EQ and level decision against the complete arrangement, never in isolation for more than a minute or two.
The other near-miss was skipping reference tracks entirely on the first draft. Once he started comparing his rough mix against a professionally mastered song in the same genre, gaps in low end and stereo width that he had been deaf to suddenly became obvious.
Sharing the Final Product
After weeks of diligent work, Jake’s track was ready. He uploaded it to the Harniciuk Sonic platform, eager to share his creation with fellow musicians in Harmonyville. The feedback was overwhelmingly positive, and Jake’s journey from novice to skilled mixer and masterer inspired others to follow in his footsteps. A few of the other Friday-night regulars asked him to walk them through his session file, and explaining his own decisions out loud made him realize how much he had actually absorbed over the past few weeks.
By understanding the fundamentals and applying practical techniques, Jake turned his raw guitar recordings into polished tracks ready for the world to hear. Whether you’re a beginner or an intermediate guitarist, mastering the art of mixing and mastering can elevate your music to new heights. Dive into the world of sound with confidence, and let your guitar tracks shine. The tools change from year to year, but the underlying habits — organizing before processing, listening on more than one system, and stepping away before the final pass — are the same ones that turned Jake’s bedroom recordings into something Harmonyville wanted to hear.